1. Bevezetés
Köszönöm a vásárlástasing the DOOMAY Digital Alarm Clock. This compact and versatile alarm clock is designed for convenience and readability, featuring an adjustable LCD display, snooze function, weekend mode, and temperature display. This manual will guide you through the setup, operation, and maintenance of your new alarm clock to ensure optimal performance.
2. Biztonsági információk
- Tartsa távol a készüléket víztől és magas páratartalmú környezettől.
- Avoid exposing the clock to direct sunlight or extreme temperatures.
- Ne próbálja meg szétszerelni vagy megjavítani a készüléket. Forduljon szakképzett személyzethez a szervizeléshez.
- Kizárólag a megadott típusú elemet használja (2 db AAA elem).
- Ha a készüléket hosszabb ideig nem használja, vegye ki az elemeket a szivárgás elkerülése érdekében.
- Az elemeket tartsa távol a gyermekektől.
3. A csomag tartalma
- DOOMAY Digital Alarm Clock (1 unit)
- AAA Batteries (2 units)
- Felhasználói kézikönyv (ez a dokumentum)
4. Termék végeview
Familiarize yourself with the components and controls of your DOOMAY Digital Alarm Clock.
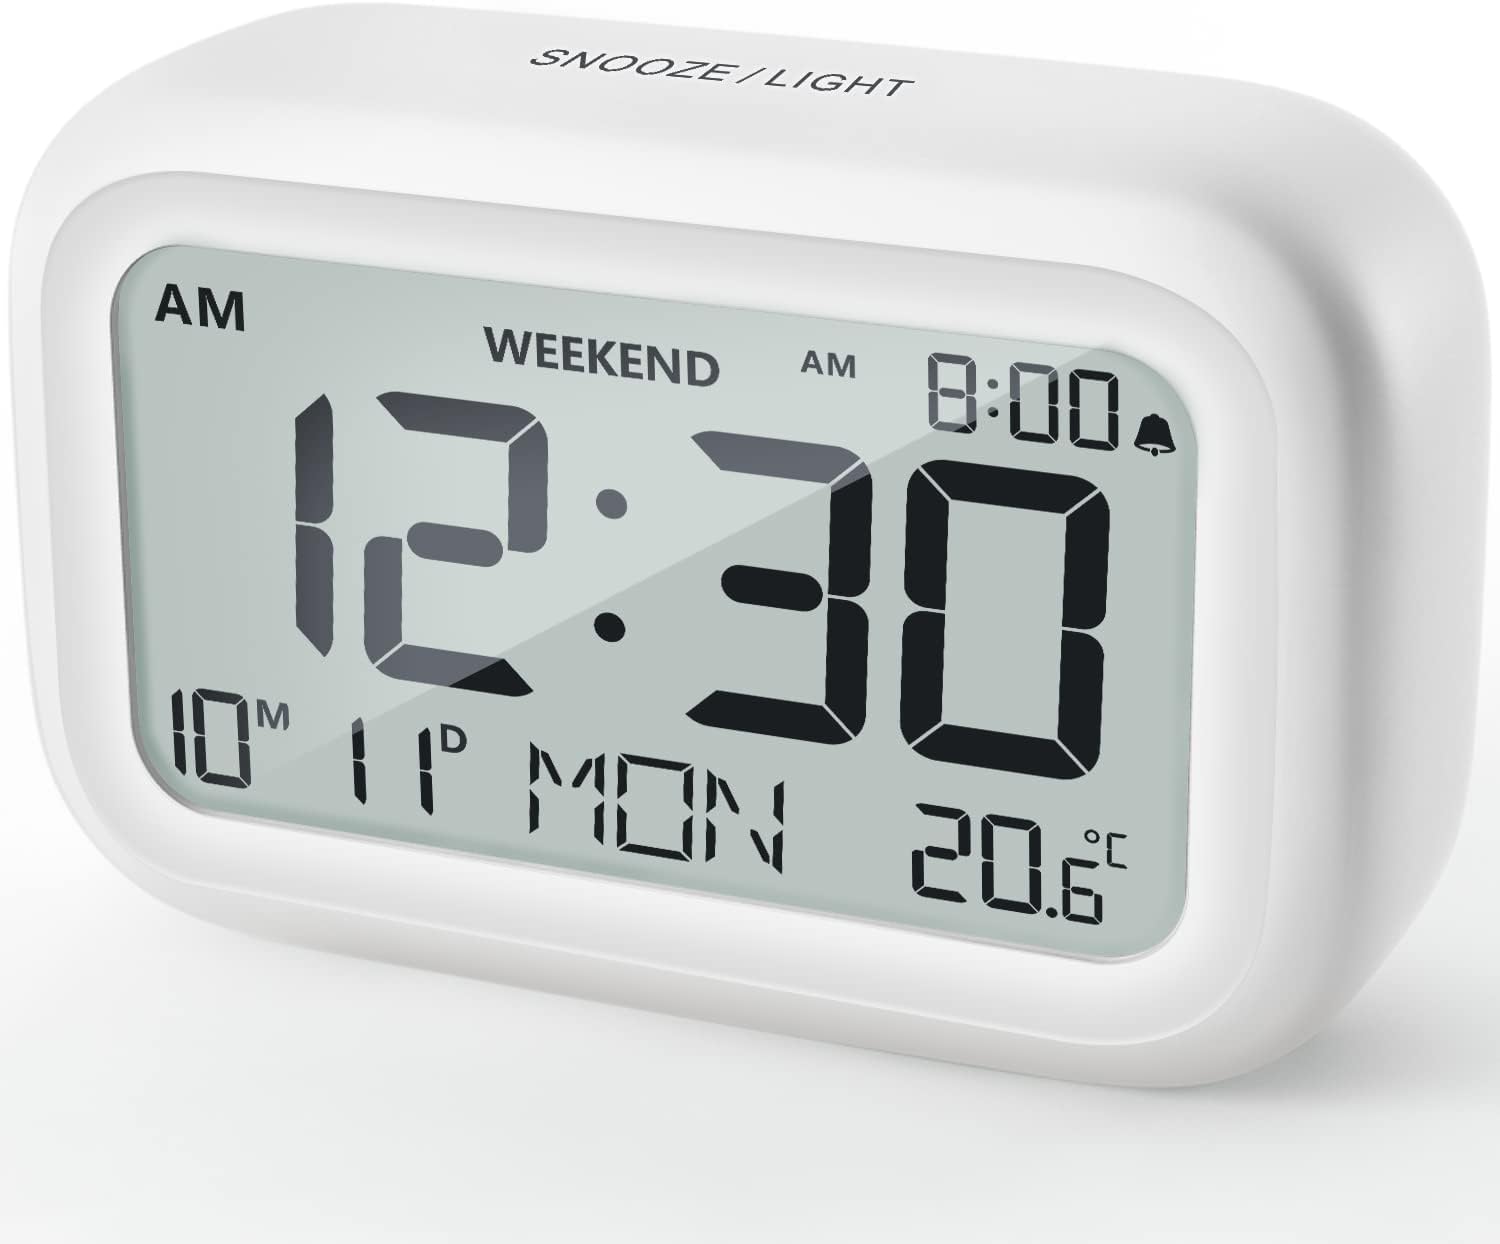
4.1. ábra: Elöl View of the Alarm Clock
This image displays the front of the DOOMAY Digital Alarm Clock, highlighting its large, clear LCD screen. The screen shows the current time (12:30), AM indicator, day of the week (MON), date (10th month, 11th day), and indoor temperature (20.6°C). The top of the clock has a "SNOOZE/LIGHT" button.

4.2. ábra: Főbb jellemzőkview
This diagram illustrates the main functionalities of the alarm clock: 12/24H time display, calendar, alarm setting, adjustable volume, snooze function, backlight, weekend mode, and temperature display. The clock itself is shown on a wooden table, displaying 7:00 AM, Friday, and 28.8 degrees.

Figure 4.3: Back Panel Controls
This image shows the rear of the alarm clock, detailing the various control buttons and the battery compartment. Buttons are clearly labeled for: 12/24H time format, Alarm setting, Weekend mode, Date setting, Minus (-) for decreasing values, Plus (+) for increasing values, and °C/°F for temperature unit selection. The battery compartment is visible, designed for two AAA batteries.
Kezelőszervek és kijelző:
- LCD kijelző: Shows time, date, day of week, AM/PM indicator, alarm status, and temperature.
- SNOOZE/LIGHT Button (Top): Activates snooze function during alarm; illuminates backlight for 5 seconds.
- 12/24H Button (Back): Vált a 12 órás és a 24 órás időformátum között.
- ALARM Button (Back): Belép az ébresztő beállítási módba.
- WEEKEND Button (Back): Activates/deactivates weekend mode.
- DATE Button (Back): Enters date setting mode.
- MINUS (-) Button (Back): Decreases values during setting; adjusts alarm volume.
- PLUS (+) Button (Back): Increases values during setting; adjusts alarm volume.
- °C/°F Button (Back): Toggles between Celsius and Fahrenheit temperature units.
5. Beállítás
5.1 Az akkumulátor beszerelése
- Nyissa fel az óra hátulján található elemtartó fedelét.
- Insert two (2) AAA batteries, ensuring correct polarity (+ and -).
- Biztonságosan zárja le az elemtartó fedelét.
- The display will light up, and the clock will be ready for initial setup. A low battery symbol will appear when batteries need replacement. If the display shows "8888" flashing, it's also an indication to change batteries.
5.2 Kezdeti idő és dátum beállítása
- Idő beállítása:
- Nyomja meg a 12/24H button to switch between 12-hour (with AM/PM) and 24-hour formats.
- Nyomja meg és tartsa lenyomva a gombot 12/24H gombot 3 másodpercig az időbeállítás módba való belépéshez. Az órák számjegyei villogni kezdenek.
- Használja a + or - gombokkal állíthatja be az órát.
- Nyomja meg a 12/24H Nyomja meg ismét a gombot az óra megerősítéséhez és a perc beállításához. A perc számjegyei villogni fognak.
- Használja a + or - gombokkal állíthatja be a percet.
- Nyomja meg a 12/24H button one more time to exit time setting.
- Dátum beállítása:
- Nyomja meg és tartsa lenyomva a gombot DÁTUM button for 3 seconds to enter date setting mode. The year digits will flash.
- Használja a + or - gombok az év beállításához.
- Nyomja meg a DÁTUM button again to confirm the year and move to month setting.
- Adjust the month using + or -.
- Sajtó DÁTUM again to move to day setting.
- Adjust the day using + or -.
- Sajtó DÁTUM one more time to exit date setting. The day of the week will automatically adjust.
6. Használati útmutató
6.1 A riasztás beállítása
- Nyomja meg és tartsa lenyomva a gombot RIASZTÁS gombot 3 másodpercig. Az ébresztési óra számjegyei villogni kezdenek.
- Használja a + or - gombokkal állítsa be a kívánt ébresztési órát.
- Nyomja meg a RIASZTÁS button again to confirm the hour and move to minute setting. The alarm minute digits will flash.
- Használja a + or - buttons to set the desired alarm minute.
- Nyomja meg a RIASZTÁS button one more time to exit alarm setting. The alarm icon (bell symbol) will appear on the display, indicating the alarm is active.
- Az ébresztő be-/kikapcsolásához egyszerűen nyomja meg a RIASZTÁS button once. The bell icon will appear/disappear.
6.2 Szundi funkció
Amikor megszólal az ébresztő, finoman koppintson a nagy SNOOZE / FÉNY button on the top of the clock. The alarm will pause for 9 minutes and then sound again. This can be repeated multiple times.

Figure 6.1: Activating Snooze
This image demonstrates how to activate the snooze function by touching the top of the alarm clock. The text highlights that this action provides an additional 9 minutes of sleep after the alarm sounds.
To completely turn off the alarm after it sounds (without snoozing), press any button on the back of the clock.
6.3 Weekend Mode
The weekend mode allows the alarm to sound only from Monday to Friday, preventing it from ringing on Saturday and Sunday.

Figure 6.2: Weekend Mode Activated
This image shows the alarm clock display with the "WEEKEND" indicator prominently displayed, signifying that the weekend mode is active. The accompanying text clarifies that in this mode, the alarm will only sound from Monday to Friday, ensuring undisturbed weekends.
- To activate Weekend Mode, press the HÉTVÉGI button once. The "WEEKEND" indicator will appear on the display.
- To deactivate Weekend Mode, press the HÉTVÉGI button again. The "WEEKEND" indicator will disappear.
6.4 Adjustable Alarm Volume
The alarm clock offers two volume levels: Low (70 dB) and High (85 dB).

Figure 6.3: Alarm Volume Levels
This image visually represents the two available alarm volume settings: L01 (85 dB) for a louder alarm and L02 (70 dB) for a softer alarm. The alarm clock is shown in a bedroom setting, emphasizing its use as a bedside device.
- Normál időkijelzési módban nyomja meg a + or - buttons to cycle between the two alarm volume levels. The current volume level will be briefly displayed.
6.5 Háttérvilágítás funkció
To illuminate the display in low light conditions, simply tap the SNOOZE / FÉNY button on the top of the clock. The backlight will activate for approximately 5 seconds, providing clear visibility of the time and other information.
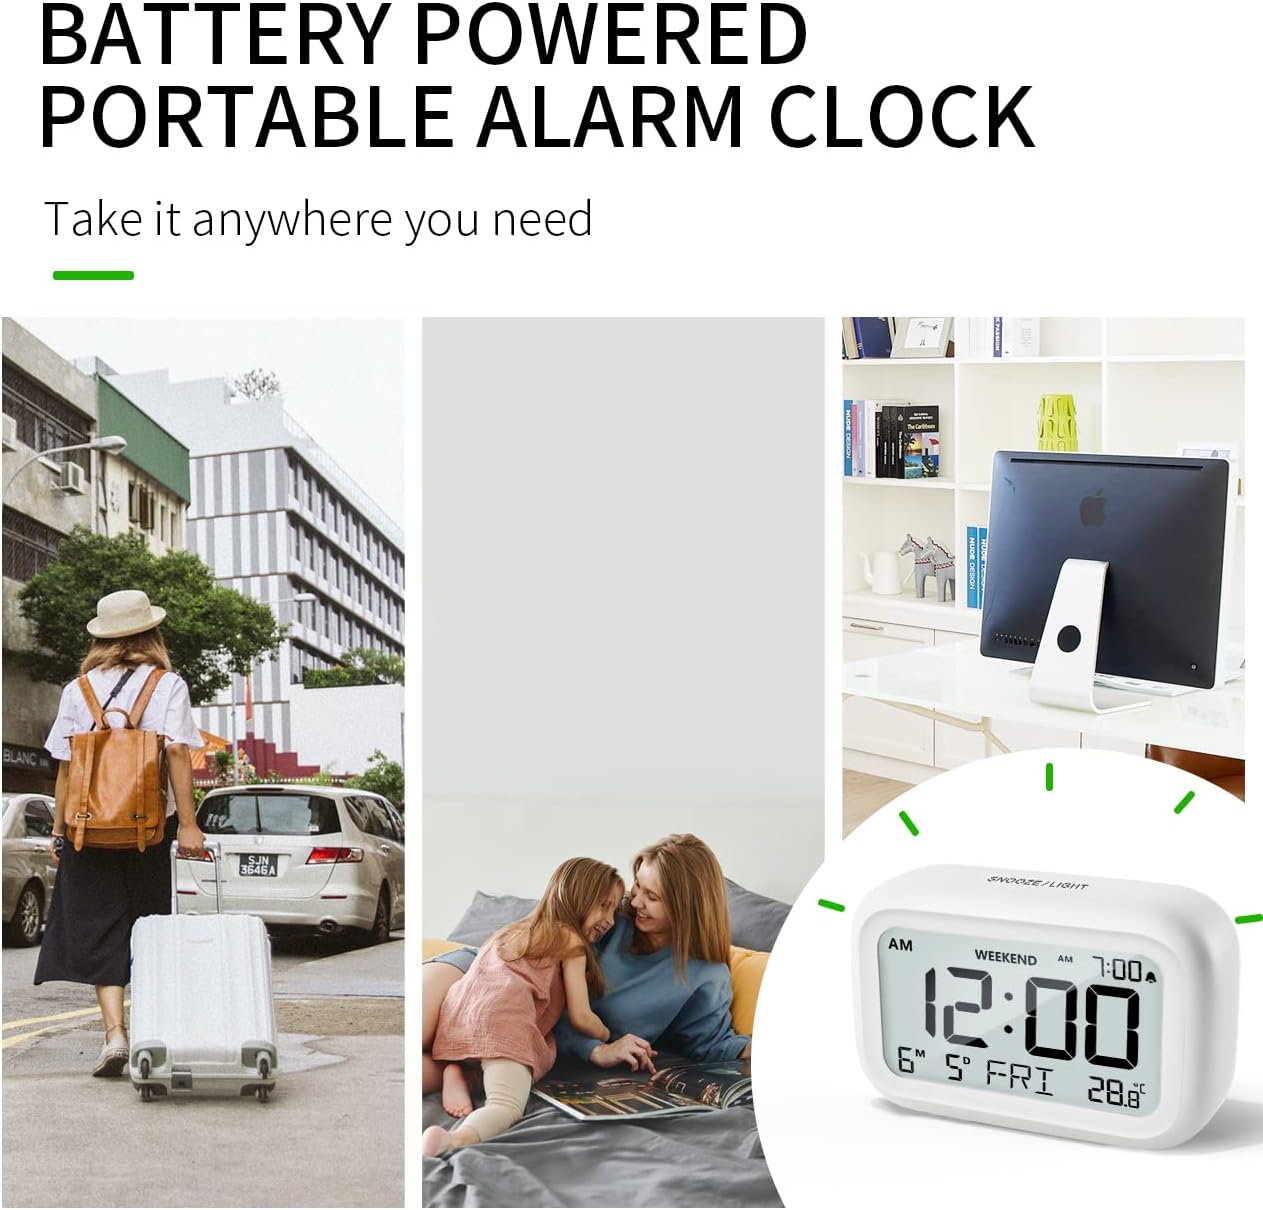
Figure 6.4: Backlight in Action
This image provides a side-by-side comparison of the alarm clock's display. On the left, the clock is shown in a well-lit environment. On the right, the same clock is shown in a dark setting with its 5-second backlight activated, demonstrating how the display becomes clearly visible at night.
6.6 Hőmérséklet kijelző
The clock displays the indoor temperature. You can switch between Celsius (°C) and Fahrenheit (°F) units.
- To change the temperature unit, press the ° C / ° F gombot az óra hátulján.
7. Karbantartás
7.1 Tisztítás
Wipe the clock with a soft, dry cloth. Do not use abrasive cleaners or solvents, as they may damage the surface.
7.2 Elemcsere
When the low battery indicator appears on the display, or if the display shows "8888" flashing, it is time to replace the batteries. Follow the steps in Section 5.1 Battery Installation to replace the two AAA batteries.
8. Hibaelhárítás
| Probléma | Lehetséges ok | Megoldás |
|---|---|---|
| A kijelző üres vagy halvány. | Az elemek lemerültek vagy helytelenül vannak behelyezve. | Cserélje ki az elemeket új AAA elemekre, ügyelve a helyes polaritásra. |
| Nem szólal meg a riasztás. | Alarm is not activated, or Weekend Mode is ON. | Ensure the alarm icon is displayed. Check if Weekend Mode is active and deactivate if necessary. |
| A szundi funkció nem működik. | Not tapping the SNOOZE/LIGHT button correctly. | Ensure a firm, brief tap on the top SNOOZE/LIGHT button when the alarm is sounding. |
| Az idő/dátum helytelen. | Not set correctly or batteries were removed. | Refer to Section 5.2 Initial Time and Date Setting to re-set. |
9. Műszaki adatok
| Funkció | Részlet |
|---|---|
| Modellszám | 5293UK |
| Márka | DOOMAY |
| Méretek (H x Sz x Ma) | 10.9 x 3.81 x 6.9 cm (4.29 x 1.5 x 2.72 hüvelyk) |
| Súly | 127.01 gramm (0.28 font) |
| Anyag | Akrilnitril-butadién-sztirol (ABS) |
| Áramforrás | 2 x AAA elem (tartozék) |
| Kijelző típusa | Digitális LCD |
| Riasztási hangerőszintek | Low (70 dB), High (85 dB) |
| Szundi időtartama | 9 perc |
| Háttérvilágítás időtartama | 5 másodperc |
| Hőmérséklet mértékegységei | Celsius (°C) / Fahrenheit (°F) |
10. Garancia és támogatás
DOOMAY products are designed for reliability and performance. For any questions, technical support, or warranty claims, please contact your retailer or visit the official DOOMAY website for assistance. Please retain your proof of purchase for warranty purposes.
For further information, you may visit the brand's Amazon store page: DOOMAY Store on Amazon


